Power Query is a data automation tool. It can be used to perform ETL tasks like importing data from external sources, common tasks on the imported data like cleanse & prepare data, stack or merge data sets, group & summarize data. Once transformation is done, data can be loaded to the worksheet.
You can access Power Query on Excel 2010 and later versions. It is a tool built for Excel and Power BI. The Power Query tools are available under the Data tab of the ribbon for Excel 2016 and later. In case of Power BI, the tools are available under the Home tab of the ribbon.
Purpose
Surveys suggest that data analysts who work mainly on data, spend approximately half of their time on gathering and cleaning data. Even non data analysts spend a lot of time while getting and cleaning the data. The purpose of Power Query is to automate the data gathering and cleaning process. The Power Query editor can be used to easily automate the laborious tasks done using Excel formulae and VBA programming. The source of data can be the table in your excel worksheet, other excel file/s, text or csv file, multiple files in a folder, tables of data from pdf, databases, cloud based systems etc.
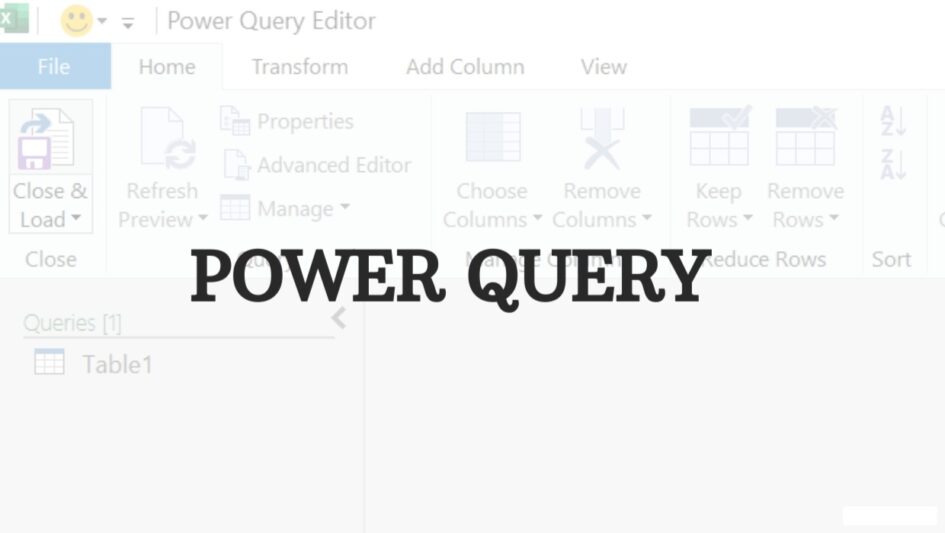
Power Query Editor
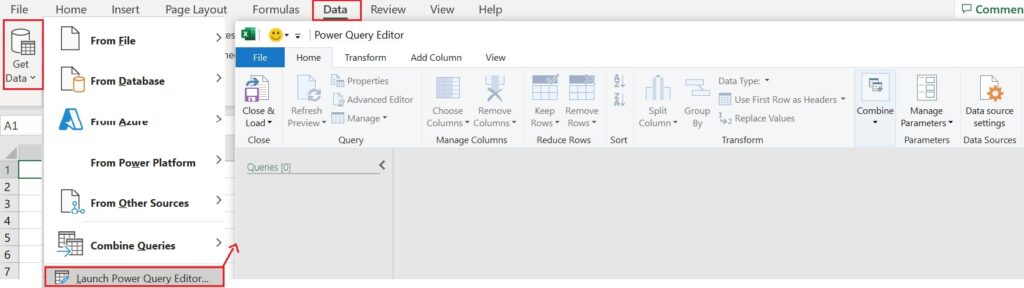
As a first step you can have a look at the Power Query editor as shown in the below picture. The editor can be launched by accessing the Data > Get Data > Launch Power Query Editor option on excel.
In the above picture of the editor, you can see the Home, Transform, Add Column, View tabs of the ribbon that consist of various options to work on the data in-order to transform it. As mentioned earlier, there are multiple sources that you can get data from. In this blog post i will take up the most commonly used methods to get data, i.e. table and multiple files.
- Data from table
On Excel, use the option Data > From Table/Range to load data from an Excel table data set to Power Query. - Data from multiple files
On Excel, use the option Data > Get Data > From File > From Folder to load data from multiple excel files in a single folder to one table on Power Query. In the next window, select Combine & Transform Data if you need to clean the data else select Combine & Load / Combine & Load To.
Once you load the data onto the Power Query editor, if you are cleaning or transforming data, work on the “Transform Sample File” instead of the final data query file that can be seen under the Queries window. This helps to revert back to the unaltered final data query file in a worst case scenario. All the transformation steps performed on a table can be viewed on the right hand side under the APPLIED STEPS window that is similar to a macro recorder.
Useful Commands
In this section you will learn some of the useful Power Query tips that will help to improve your data transformation skills.
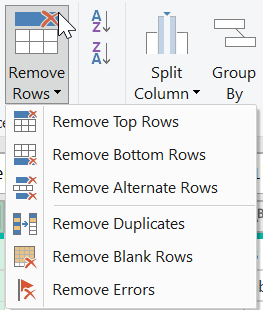
- Remove Duplicates, Remove Errors
Under Home > Remove Rows, we can find a lot of useful remove row options. Remove Duplicates i.e., removing duplicate rows from Column/s and Remove Errors i.e., removing error values from column/s are the more frequently used options.
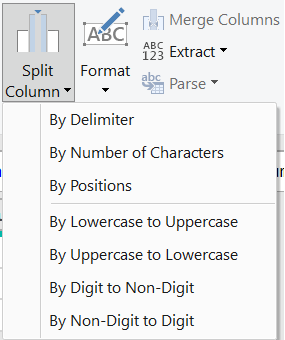
- Split Column
Under the Home > Split Column, you can find different options to split a column of text into multiple columns and in a number of different ways to achieve the results that you want. The split By Delimiter and By Positions are the more frequently used ones.
The split By Delimiter option can be used to split the text column by the left-most, right-most, on each occurrence of delimiter and special characters. Even the split into Columns/Rows can be specified along with the count of columns. The split By Positions as the name specifies is to split the text column at the specified position.
When you encounter a list of items in a single cell, splitting the column using M Code would be a better option. Here the Text.Split() function need to be used. Table.FromColumns() function can be used to merge two lists.
- Transpose
Just by the single click of a button the columns and rows can be interchanged using the Transform > Transpose button. However, before performing the transpose action, you need to make the headers as part of the table by using the option Transform > Use Headers as First Row. - Trim, Clean
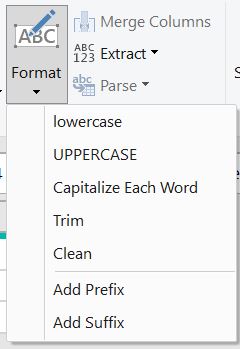
Trim option can be used to remove all the leading and trailing spaces of text string in a cell. You can find this option under Transform > Format or by right clicking on a column and navigating to Transform > Text Transforms. There is one more option called Clean under Transform that is really helpful. This can be used to clear the line breaks from data in a cell.
- Mathematical Tasks
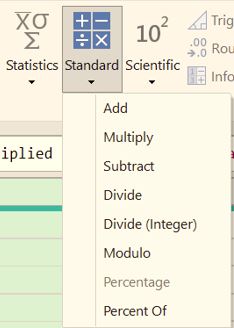
Some of the mathematical tasks that can be performed using power query are Add, Subtract, multiply etc.,. In order to perform basic mathematical operation on two columns, select the two columns by pressing the shift key, navigate to Add Column > Standard and select any of the math functions displayed in the below figure. The result will be displayed in a separate column. There is one more tab called Transform wherein the same math functions are available. However, the math functions here can be used to modify only a single column and cannot perform math operation on two or more column data.
- Column Data Customization
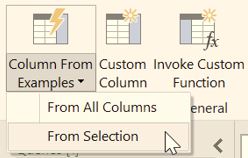
The format of data in a column can be changed over to a new format by selecting the column and clicking on the Add Column > Column From Examples > From Selection option. A new column will be created in which the data needs to be entered in the new format for the first few rows. The tool automatically detects the format of new data for the rest of the rows and automatically fills it.
The next option provides the facility to use formulae on multiple column data and output the result in a new column. Select this option by navigating to Add Column > Custom Column option.
- Subtract Days
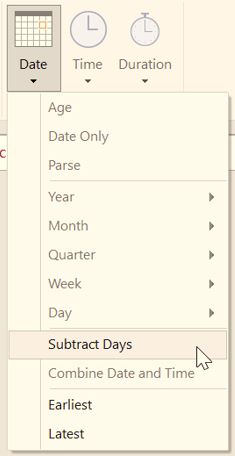
You can calculate the count of days between two columns of data that is in date format. Select the two columns of data and navigate to Add Column > Date > Subtract Days option. This will result in new column creation with the count of days as the output.
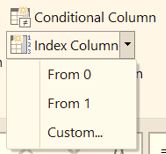
- Column Indexing
Here a new index column will be added with the serial number starting from 0 or 1 or any custom value. The option to be selected is Add Column > Index Column.
There are many more parts of the editor that need to be covered. However, this blog post can be considered as a first step in exploring Power Query and incorporating it into your everyday work.
Further Reading :


Leave a Reply